ALERT SETTINGS
🔔 How to Set Up Alerts for CrossX Pro V.5 Indicator on TradingView
Setting up alerts is one of the most powerful features of the CrossX Pro V.5 indicator. With real-time alerts, you’ll never miss a buy/sell signal, divergence, or key market move. Once conditions are met, TradingView will instantly notify you via multiple channels. Follow this step-by-step guide to set up your alerts like a pro:
✅ Step 1: Open the Alert Creation Window

Before starting, ensure the CrossX Pro V.5 indicator is already added to your chart.
- Click the “⏰ Alert” icon on the top toolbar in TradingView (see arrow 2 in the image).
- The “Create Alert” window will pop up.
- In the Settings tab, configure the following:
🔹 Symbols
Select the asset you want to monitor, e.g., BTCUSD
🔹 Condition
- Select:
CrossX Pro V.5from the list - Choose the specific alert condition you want:
CrossX Pro Buy Alert [Once Per Bar]– for buy signalsCrossX Pro Sell Alert [Once Per Bar]– for sell signalsRegular Bearish Div,Top Reversal Alert,Gap Up Detected, etc.
(see full list in the screenshot)
- Note : When creating an alert, select “Once Per Bar” for buy/sell/TR/BR signals. For all other signals, select “Once Per Bar Close.
🔹 Interval
Set to Same as chart – this will match the current chart timeframe (e.g., 2H, 4H)
🔹 Expiration
To keep the alert running indefinitely, select: Open-ended alert
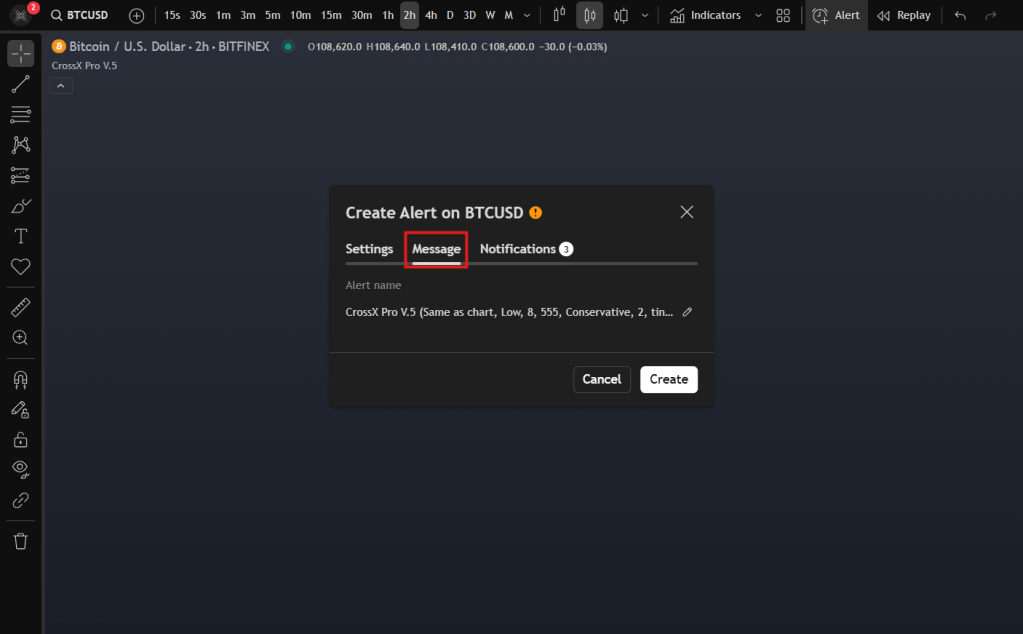
📝 Step 2: Customize the Alert Message
(Optional – can be skipped if not needed)
- Go to the Message tab
- Type a custom message that will be shown when the alert triggers, e.g.:
📉 Sell Signal detected by CrossX Pro V.5 (2H Chart)
📲 Step 3: Configure Notification Options

Go to the Notifications tab (see second image)
- ✅ Notify in app – Get real-time push notifications via the TradingView app
- ✅ Show toast notification – Displays a popup inside your browser
- ✅ Send email – Sends an email to the address in your TradingView profile
- 🟦 Webhook URL – (Optional) Post data to external systems or bots
- 🔊 Play sound – Play an audio cue when triggered
- ✉️ Send plain text – Send a simplified message to another email or service
Once everything is set, click the Create button (see arrow 3 in the image). Your alert is now active and will trigger automatically when the chosen condition is met.
Complete information about alerts click here and you can use the VDO below to see that how to set alerts.
